

Your Flush arrives ready to grow. Setting up your Flush mushroom growing cabinet takes about five minutes, and you only need water and a Grolia grow block to start growing mushrooms at home.
1. Find it a home
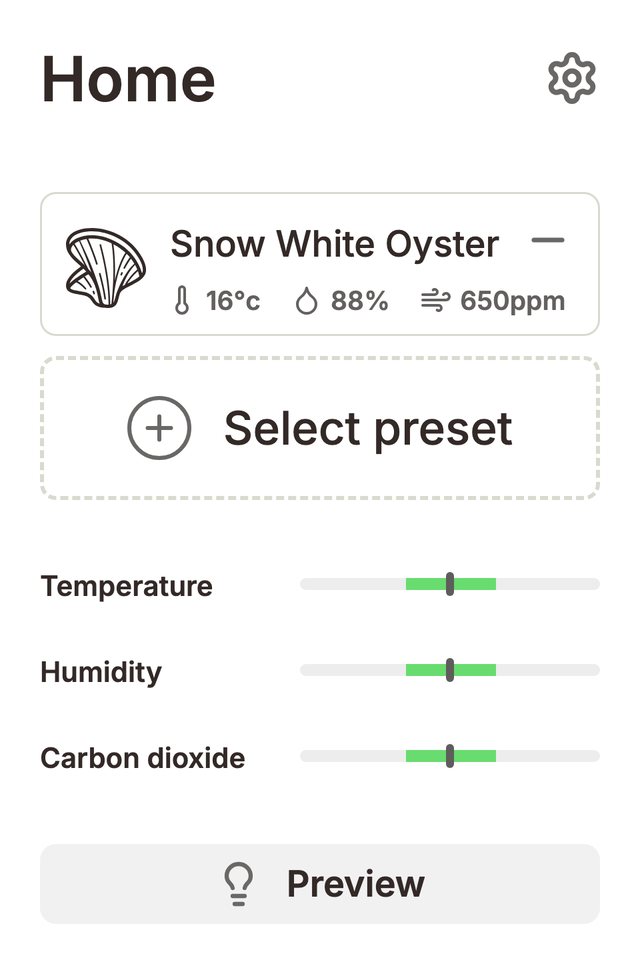
Flush is a benchtop cabinet, so any kitchen bench, shelf, or desk will do. Place the unit on a stable surface away from direct sunlight, with a little clearance around the vents. Plug it in and switch it on — the first time the unit starts, it will ask whether you want Essentials (Basic) or Advanced mode. You can change this later in Settings → Display.
2. Fill the water reservoir
The reservoir lives on the right side of the unit. Fill it with clean drinking water. The cabinet uses this to keep humidity in the growing chamber exactly where your mushrooms want it, and it will let you know on screen when the reservoir is running low.
3. Prep and load your grow block
- Tear open the perforated cardboard tab on top of the block's box and remove the cut-out panel so the bag underneath is exposed.
- Cut a small X in the bag where the cardboard was removed — a couple of centimetres is plenty. This is where your mushrooms will fruit.
- Place the prepared block inside the chamber and close the door.
4. Tell the unit what you're growing
In Basic mode, choose the preset that matches your mushroom species from the Home screen — oyster, lion's mane, and other popular varieties are built in. In Advanced mode, set your own temperature, humidity, and CO2 targets. That's it — your Flush setup is complete, and the cabinet takes care of the growing climate from here.